Showing posts with label crafts with crayons. Show all posts

Thursday, November 10, 2016

Blackout Poetry

Last month, my 11-year-old daughter and I attended Books by the Banks in Cincinnati. While she was preoccupied with alcohol-inked ceramic tiles and activities that taught her how to solder and create a paper circuit with copper tape and a LED diode, my eye was drawn to the Blackout Poetry station at the end of the table. For more details about the time we spent at this event, please visit this post I've published on my website.

A few days after the event, I decided I wanted to create my own example of Blackout Poetry for this post. I pulled out the pages provided at the event and read over the text, drawing boxes around words to form a poem.  I illustrated my poem with Sharpie markers. Instead of drawing footprints on a beach, I could have chosen to sketch a pattern or design.
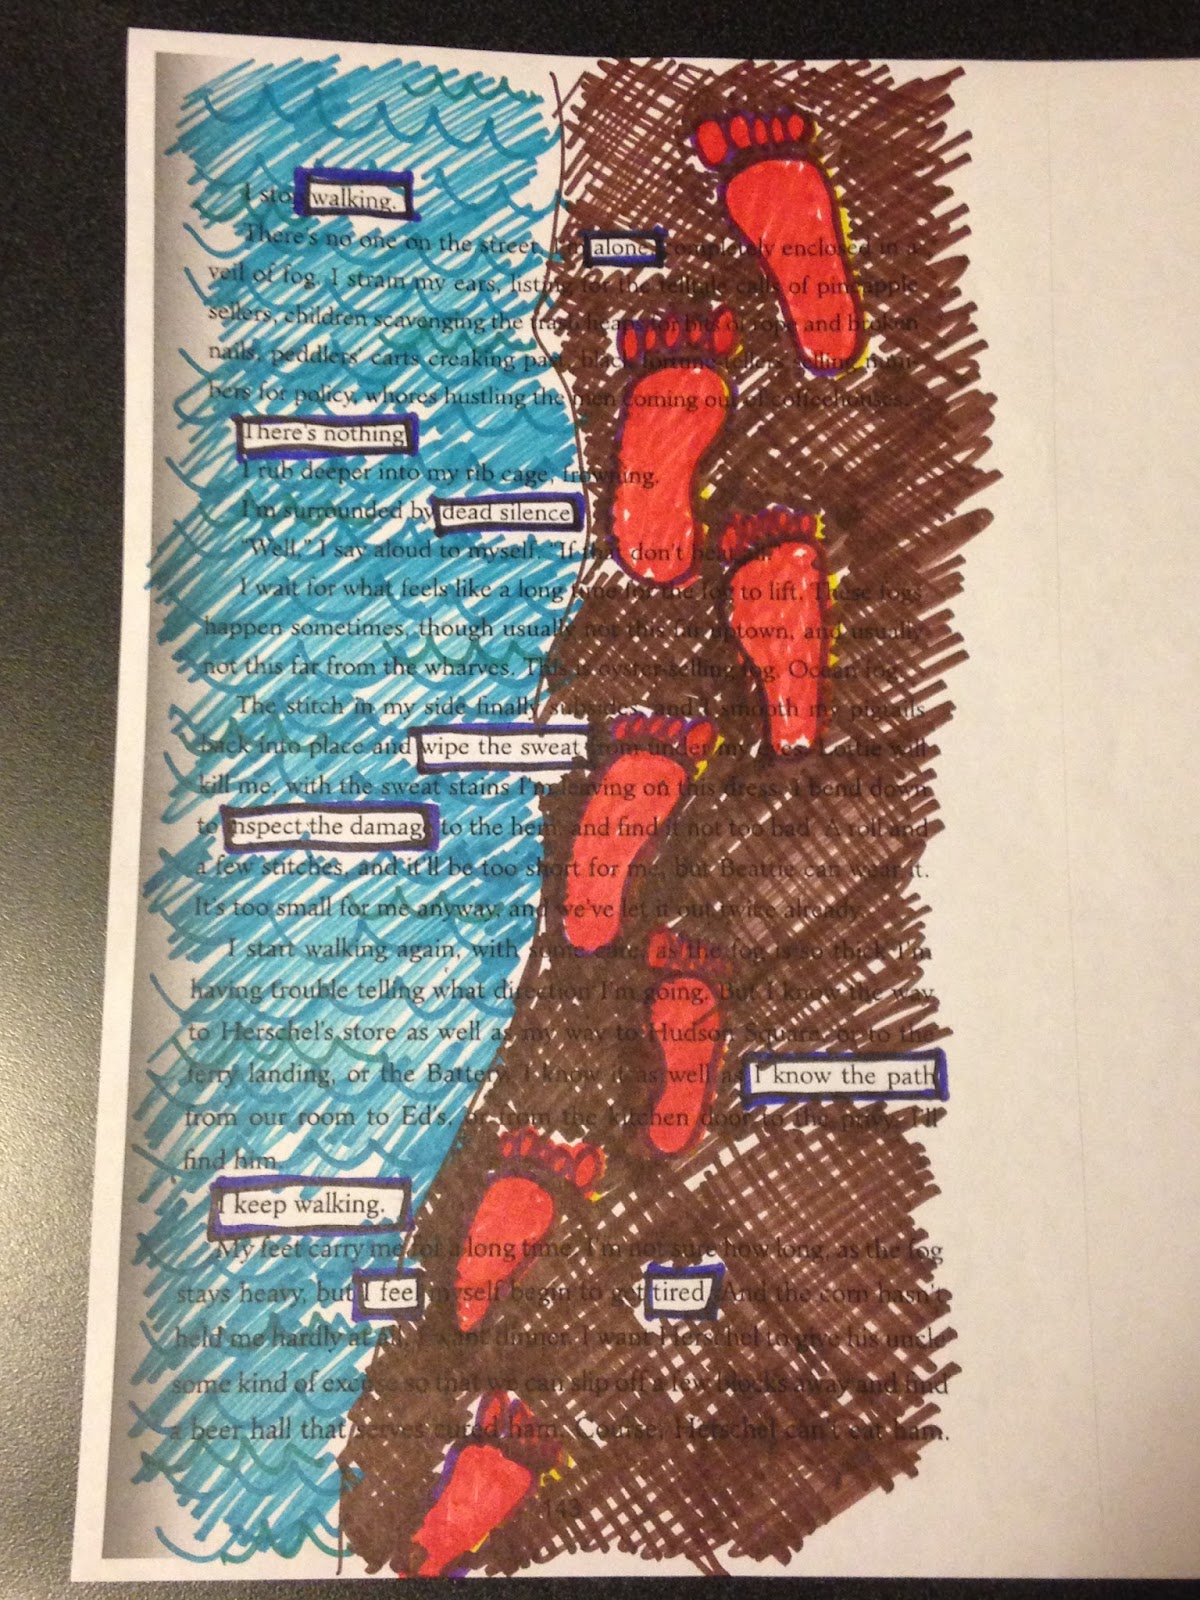

The words I chose to highlight read as follows:

walking
alone
There’s nothing.
dead silence
wipe the sweat
inspect the damage
I know the path
I keep walking.
I feel…tired.

Any sheet of paper with printed words will work for this activity–consider pages from a book, newspaper, or magazine. Try different mediums to achieve the desired effect–crayons, markers, colored pencils, or paint. With Blackout Poetry, the possibilities are endless.


How can you incorporate this activity with your Girl Scout troop?
  • Provide supplies at the next troop holiday party. The printed pages can be related to the party theme.
  • Print pages about Juliette Gordon Low for a JGL or Girl Scout Birthday celebration.
  • Copy a page from The Brownie Story (The Girl's Guide to Girl Scouting or a related website).
  • Before or after your troop bridges, find a page from a ceremony script or a related story.
  • For Juniors working on the Scribe badge, this activity satisfies Step 1 (Start with a Poem).
  • For Juniors working on the Drawing badge, this activity satisfies Step 1 (Experiment with Different Shading Materials). In fact, depending on what is drawn, girls could satisfy all the steps with this activity.
  • Plan some time for Blackout Poetry during a Self-Esteem Workshop. This activity offers girls a different avenue for expression, and it's another way to emphasize how special and unique each individual is.
I've presented several ways to introduce Blackout Poetry to the girls in your troop. I'm sure readers will come up with other applications. Please feel free to post your art in the comments section below. I'd love to see it!  Thank you for reading.

Saturday, June 4, 2016

Craft: Tie Dye Crayons


This spring, my daughter's third grade class held a Product Fair.  For several weeks leading up to the special day, students earned play money.  Each student created a product and designed a poster, hoping to entice fellow classmates to spend their hard-earned cash on his or her goods.  My daughter decided to make tie dye Lego crayons, using silicone Lego molds we had purchased from Amazon several years ago.  Here are the steps she followed (with parental supervision, of course):
  1. Choose the crayons to use.  My daughter used 2-3 crayons of each color.


2.  Place the crayons in a zippie bag.  She used a separate baggie for each color.  The wrappers fall off when the crayons are smashed with a hammer or a rolling pin.  This is much easier and less time consuming than peeling the wrappers from the crayons.
3.  Preheat the oven to 200 degrees.
4.  Place the silicone molds on a cookie sheet.
5.  Sprinkle the crayon crumbles into the molds as desired.
                          
6.  Slide the cookie sheet into the oven and bake until melted.  We checked the progress in five minute intervals, adding minutes as needed.  The Lego men finished in about twelve minutes, and the Lego bricks took about 20 minutes.

NOTE:  After removing the Lego men from the oven, my daughter noticed the finished product was not going to be as thick as she had expected.  She sprinkled more crayon crumbles on top of the melted wax before sliding the cookie sheet back into the oven for about five more minutes.
    

7.  Let the crayons cool before popping them from the molds.

NOTE:  If a tie dye crayon happens to fall on the floor and crack in all the excitement, place the pieces back in the mold and bake until melted.  Once the crayon cools, it will be as good as new.

My daughter paired a Lego man with a Lego brick and packaged them for the Product Fair in a 4x6" clear treat bag.  These Lego crayons were quite a hit!  She was really excited to be the first in her class to sell out at the Product Fair.

With such a variety of silicone molds available today, the options are endless.  Tie dye crayons make great birthday party favors.  Consider trying this craft on a rainy day, during a birthday party, or at your next Scout meeting. (Think about using a bug-shaped mold to make a bug craft for the Brownie Bugs badgeRemember these crayons as the girls experiment with different shading materials for the Juniors Drawing badge).  I would love to hear how this worked for you and the special kids in your life.  Thank you for reading.

Monday, February 22, 2016

Craft: Melted Crayon Art, Bridging Gifts

This spring, our Brownies will bridge to Junior Girl Scouts, and our Juniors will bridge to Cadettes.  The girls voted not to include a ceremony or skit in the celebration, and they did not want to invite their families to join us.  But we are doing something special to mark the occasion--I don't want to announce our plans just yet.  In the past, I have put together small Bridging gifts for our girls to mark our time together.  When our Daisies bridged to Brownies, I gave them a wooden plaque.  When the Brownies bridged to Juniors, I decorated and filled a Fry Box for the occasion.  With our Bridging event scheduled this month, I spent some time brainstorming and remembered a melted crayon art project I made last yearFinding this project to be quick and easy, I thought I'd share my method here.


This 3-pack of canvas panels can be found at Walmart for $2.77.  Over the years, I have accumulated many supplies and I often struggle to close my craft closet door.  This project requires crayons and a heat gun. Since these items are stored in said closet, I only had to purchase the canvas panels.  This craft cost less than $1.50 each, including the personalized gift bag.


Lightly sketch the initial in the bottom right corner of the canvas.  The use of a stencil or a Cricut may be helpful for those who may not wish to freehand.


Paint the letter.  I applied three coats to achieve the desired coverage.  Outline the letter with a black Sharpie.  Of course, a paint pen or brush and paint would work as well.  I prefer to use a permanent marker.
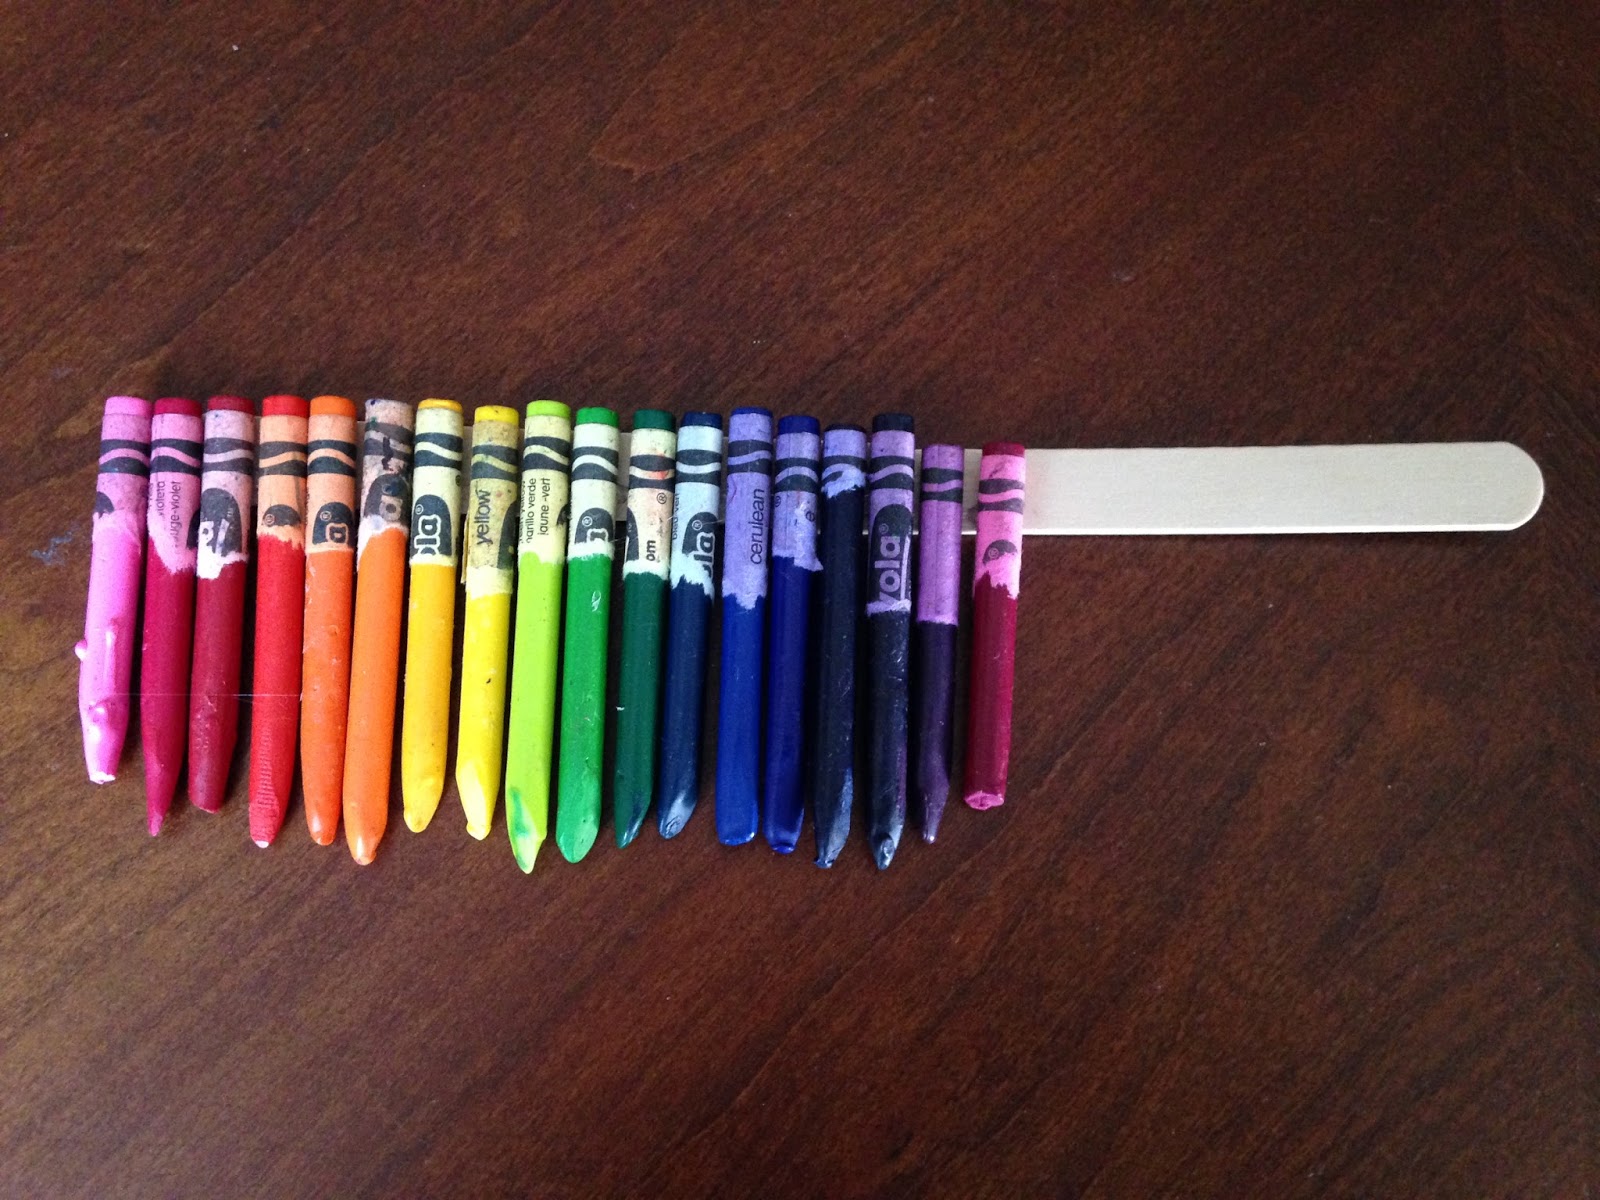
Choose the crayons you wish to use and arrange them as you so desire.  I found some six-inch tongue depressors in the craft closet.  Using a hot glue gun, I glued a 1/2" tip of one tongue depressor to the end of the other.  Glue the crayons to the wood.  Having this handle allowed me to hold the crayons easily while reducing the risk of burning my hand.


Cover your work area.  Apply painter's tape to protect the painted initial.  Prop the canvas up so the melted wax will drip.  Try not to allow the wax to flow onto the painter's tape by tipping the canvas horizontally.  My daughters helped with this part of the project.

NOTE:  The "e" canvas was created using the steps detailed above.  For the "B" canvas, I still covered the lower right hand corner with painter's tape, but I melted the crayons before painting the letter in the available space.  I think this latter method created a better finished product.  Please note I share two of the best panels here.

Using a black Sharpie, I wrote "Your true colors are beautiful like a rainbow" on the back of each canvas.  Below the quote I listed our troop number and the year.


I popped the canvas into a personalized gift bag.  My husband has coached our daughters' t-ball, softball, and basketball teams.  At the end of the season, he writes an encouraging note to each of his players.  Following his lead, I will write a note to each girl and slide it into the bag before heading out to our Bridging event.  I hope you'll check back with us soon.  Thank you for reading!

Tuesday, April 3, 2012

Color Me Happy!

If you are anything like me, you love to receive artwork from a child.  It makes me happy even if the art isn't from my own kid.  I especially cherish those drawings with colors extending just outside those thick black lines and the misspelled words that are scribbled carefully written in the margins or backwards across the page.  I often take photos of the art created by our daughters and upload them onto my computer.  I have arranged these pictures in photo books that I have ordered through SnapfishWhen our troop started meeting, we quickly discovered that most girls in Kindergarten and first grade LOVE to color!   We decided to put that interest to good use. 

Whenever we had a little extra time at the end of a meeting, the girls worked on coloring sheets that were eventually mailed to Color A Smile.  Our troop sent the coloring sheets to this organization who distributes the pictures to lonely senior citizens in the hopes of brightening their day.  This is a fun service project for the girls and easy for the leaders.  Check out the link above to print out coloring sheets for every occasion.  I made sure to have enough on hand for each meeting.  Just to give some perspective, we spent $2.30 to send 45 coloring sheets this year.  Last year we spent $2.08 in postage to send 32 coloring sheets.  This project not only served as a troop service project, but the girls earned the SPRING GREEN petal (considerate and caring).