3/4 yard of a 44-45" wide fabric (or 1 1/4 yard of a 42-43" wide fabric)
1/3 yard of another fabric
1 spool of all-purpose thread (to match)
My daughter was also asked to provide the following supplies that we happened to already have at home: sewing shears, seam ripper, straight pins with pearl heads, pin cushion, cloth tape measure, and a sewing machine. We were told that class participants may reserve a sewing machine at the store's Guest Services if needed. We received a 40% off coupon with the class registration, and she used this coupon to buy licensed M&M fabric. The total cost of her supplies was $8.
On the day of the class, I returned to the store a little early so I could see my daughter in action. She really enjoyed the class and immediately asked when she could make another pillowcase to give as a gift to a friend.


As we were leaving the store, I learned about the Tube Method for making pillowcases. Apparently it is preferred by some sewers over using a traditional pillowcase pattern. A woman in the store strongly suggested I watch this Tube Method Tutorial by the Missouri Star Quilt Company. While watching the video, it immediately became clear that using the Tube Method to make a pillowcase is much quicker and easier than creating a pillowcase with a pattern as the kids did in the class. That being said, I'm glad the the kids were taught to use a pattern in the class because that is a skill I wanted my daughter to learn.
As I learned more about making pillowcases, I discovered the American Patchwork and Quilting 1 Million Pillowcase Challenge.
"American Patchwork & Quilting is challenging quilters, sewers and crafters to help (them) reach (their) goal of donating one million pillowcases to local charities. Many charities can benefit from the donation of a pillowcase and the challenge gives you the opportunity to donate and make a difference in your community."Of course, I naturally started thinking about how we could do this with our Girl Scout troop. It would be a great service project, and it could satisfy a number of badge steps (For example, you could make it work for the Brownie Philanthropist badge or for Step 2 of the Junior Independence badge ). American Patchwork and Quilting provides teaching tools and a list of suggested charities who accept donations of pillowcases like hospitals, shelters, and nursing homes. I scrolled down the list to find Pillows of Hope here in Cincinnati. They deliver donated pillowcases to children and teens at Cincinnati Children's Hospital. It is suggested that you "contact charities in your local area before donating to make sure they are accepting pillowcase donations and to understand any restrictions on care, laundering, etc." I know this is a project our girls will be excited to try. Once we figure out the logistics and have the girls make some pillowcases, I will post all about it.
In the meantime, I returned to Jo-Ann's and purchased enough fabric to make two pillowcases. My total was $9. I decided to make a pillowcase myself, using the Tube Method, to see how long it would take me. While I have made a few pillowcase dresses like this one for my daughters, I do not consider myself to be a sewer. It took me 30 minutes to make this pillowcase. Keep in mind I was starting and stopping frequently to take pictures. I know it's unnecessary to reinvent the wheel, but I thought it might be helpful to outline the steps from the Missouri Star Quilt Company tutorial here:

1. Purchase the following fabric:
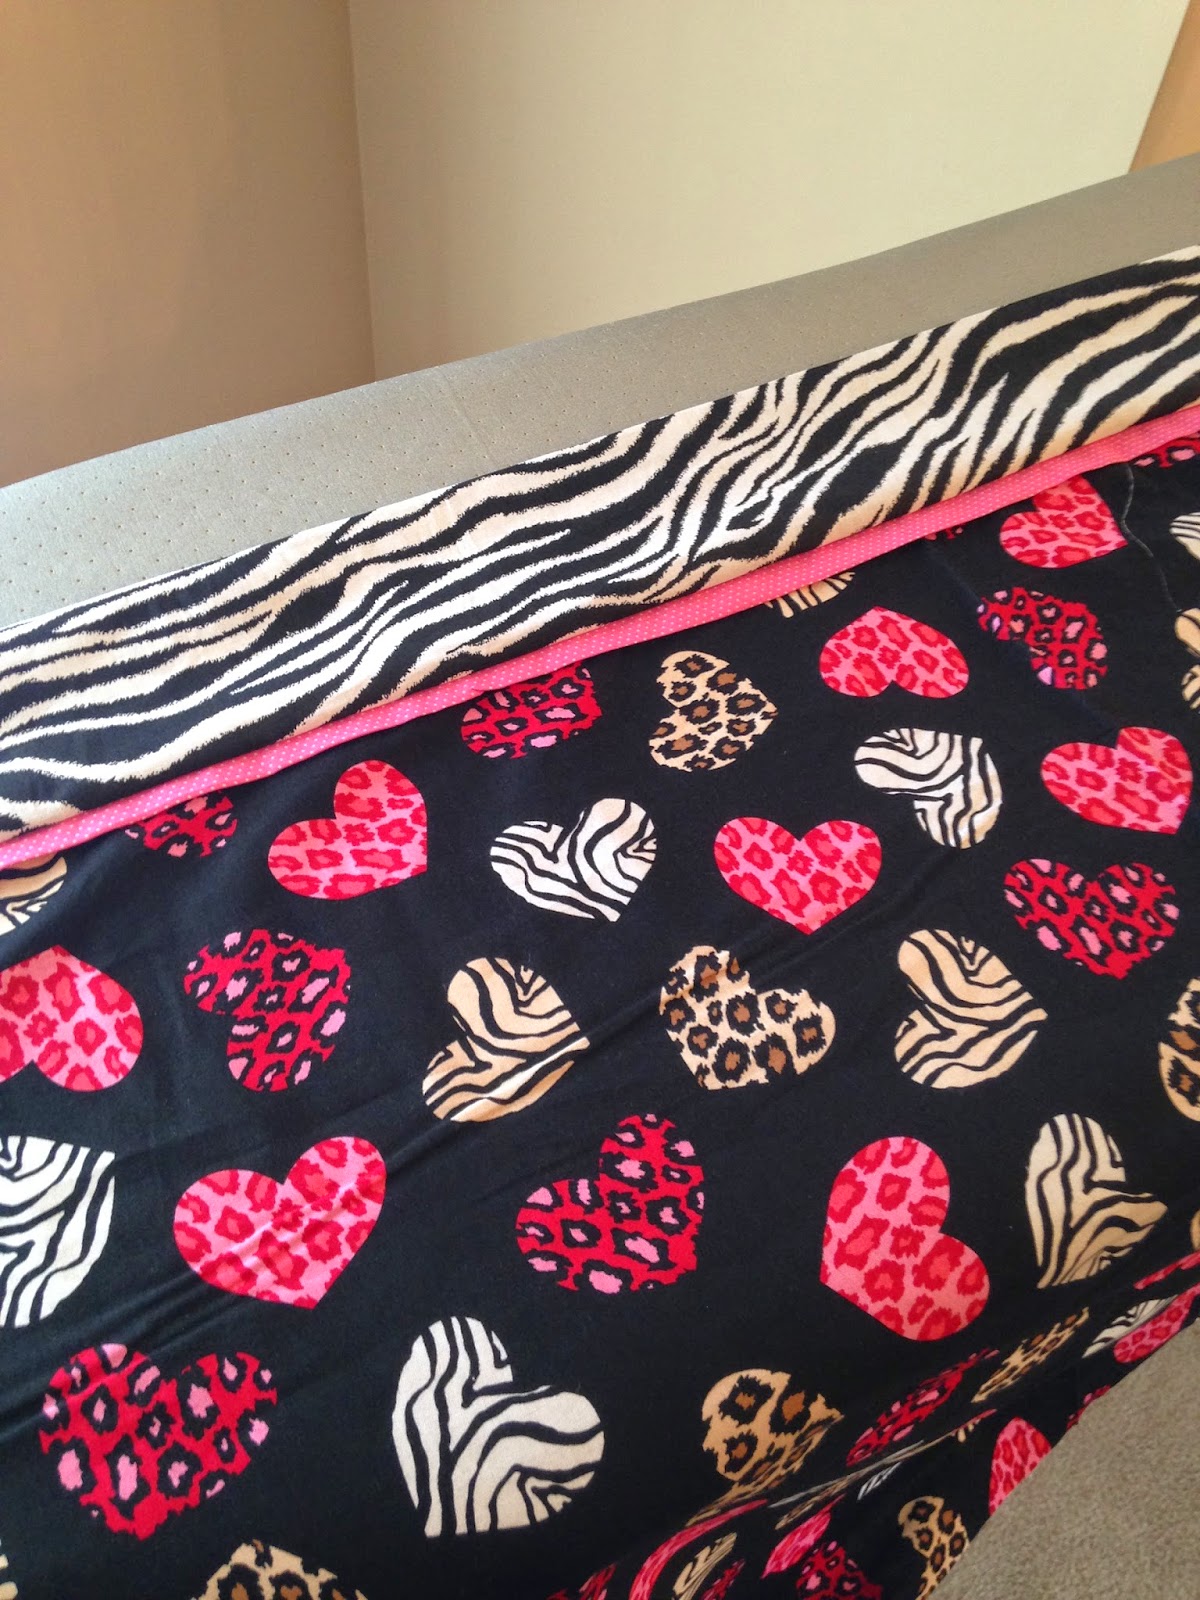
2. Make sure to cut edges straight. Cut off selvages.27" (3/4 yard) of main fabric (hearts)
9" for cuff fabric (zebra)
2" for piping fabric (pink dots)

3. Fold the 9" fabric (zebra) and the 2" fabric (pink dots) in half. Use an iron to press the crease.

4. Unfold the 9" fabric (zebra) and place it face up on a flat surface. Place the 27" fabric (hearts) face up and on top of the 9" fabric (zebra). Line up the top edges. Keep the 2" fabric (pink dots) folded in half. Place it on top of the 27" fabric (hearts). The cut edges of the 2" fabric (pink dots) should be lined up with the edges of the other two pieces of fabric (hearts and zebra).

5. Roll up the 27" fabric (hearts) to expose the 9" fabric (zebra) beneath. Gently bring the bottom edge of the 9" fabric (zebra) up to the top edges you carefully lined up in step 4. Pin the fabric together to hold all the edges in place. I put the pins every 4 to 5 inches. Seemed to work well for me.

6. Sew a straight stitch about 1/4" along the long edge of the fabric to make a tube. Do not sew the ends! (I left the painter's tape on my machine after my daughter's sewing class. Made a great guide for me).


No comments:
Post a Comment